Introduction
My current goal is to get significant representation of all the movies and then Clone Wars and Rebels as well. I recently picked up Jango Fett’s Slave I to be the representative of Attack of the Clones, the last movie I was missing.
As usual, tried it out with a scrubs v2.0 list; no named pilots.
Separatists
The Firespray costs a lot so it fits pretty well with the cheaper drone ships.
- Separatist Racketeer – Firespray-class Patrol Craft (63, I2)
- Separatist Drone – Vulture-class Droid Fighter (21, I3)
- Grappling Struts (0)
- Separatist Drone – Vulture-class Droid Fighter (21, I3)
- Grappling Struts (0)
- Separatist Drone – Vulture-class Droid Fighter (21, I3)
- Grappling Struts (0)
Empire
Mixed bag for the Empire. Maybe a rare case where they had to cobble together nearby resources instead of having dozens of a ship on hand for the job?
- Tempest Squadron Pilot – TIE Advanced x1 (36, I2)
- Onyx Squadron Sentry – TIE/rb Heavy (35, I3)
- Maneuver-Assist MGK-300 (0)
- Alpha Squadron Pilot – TIE/in Interceptor (32, I1)
- Obsidian Squadron Pilot – TIE/ln Fighter (23, I2)
Setup
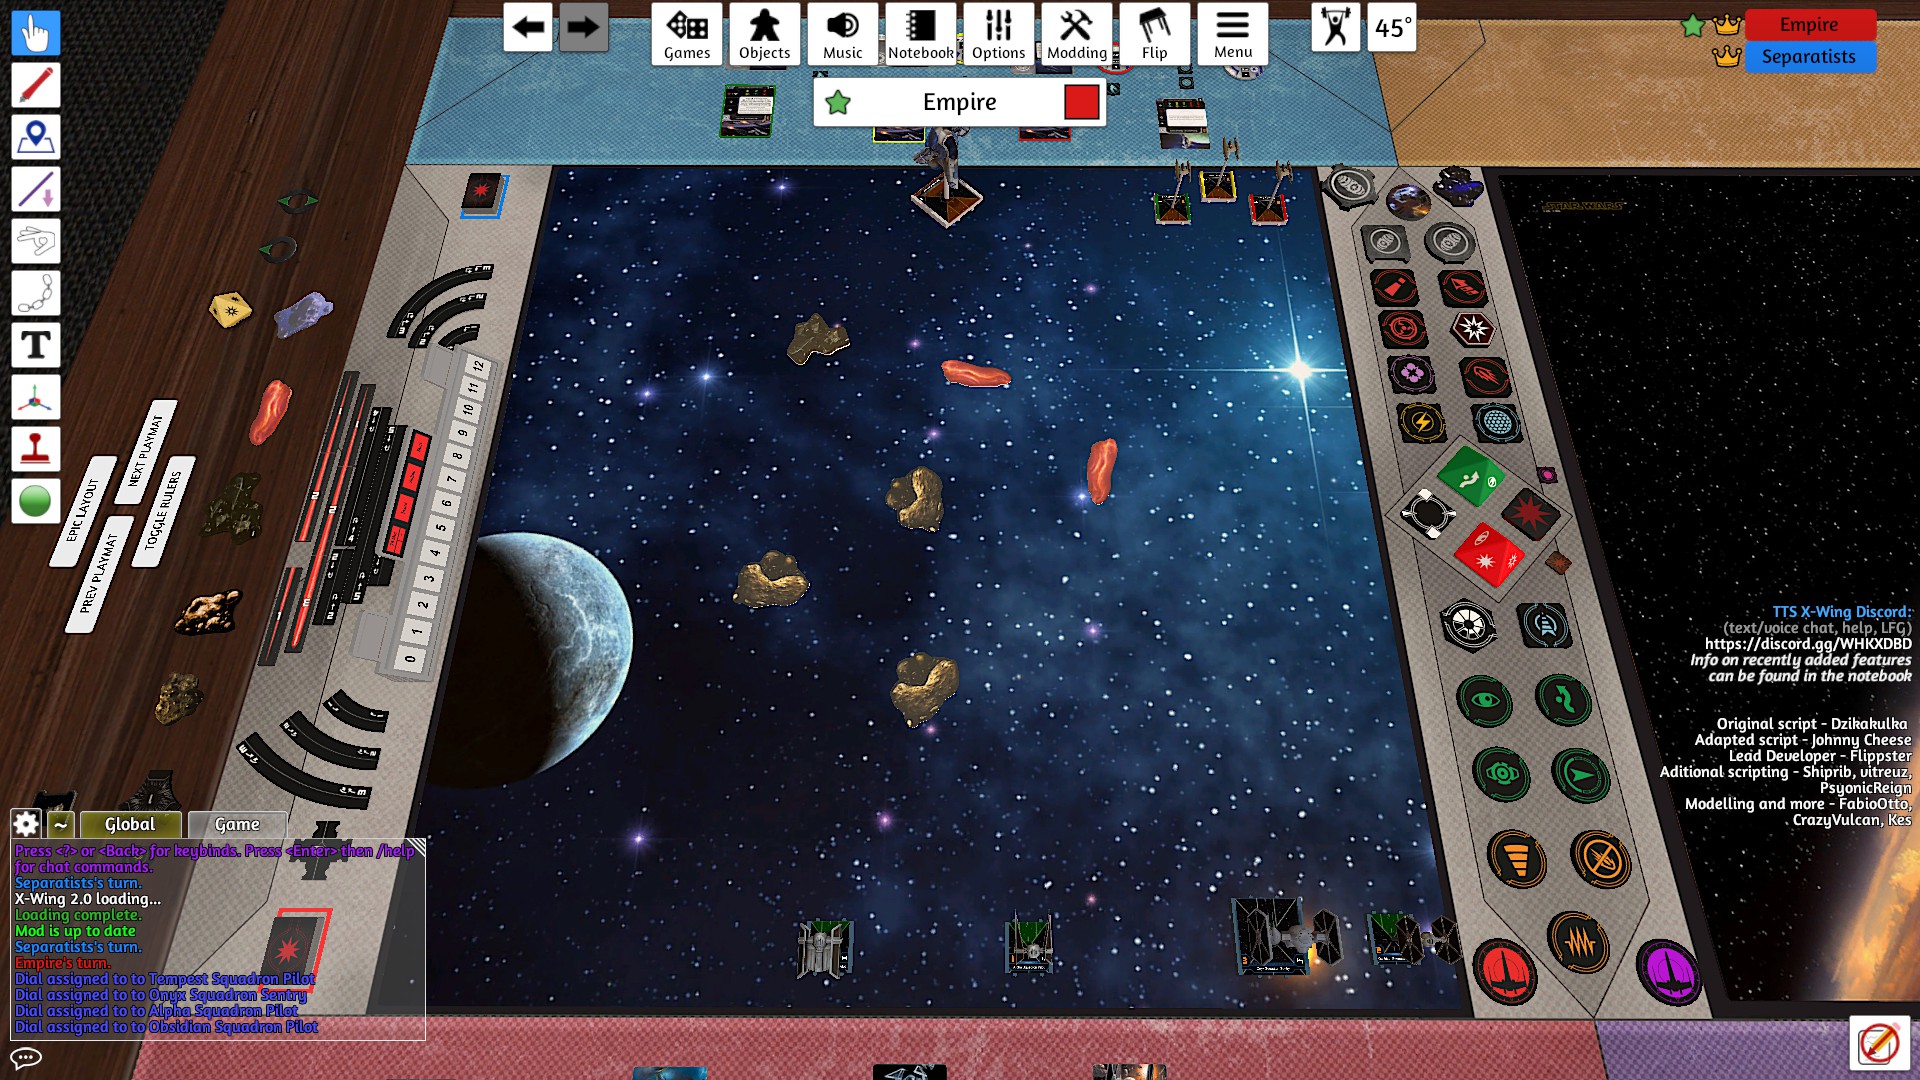
The drones are best when together so they start in a clump. I had Racketeer start to the side so it’d give out shots while the drones drew attacks. Pretty sure I had it backwards; should’ve had Racketeer in front since it can take more attacks. For obstacles, in case the drones wanted to latch onto an asteroid I had them focus on placing asteroids.
Opposite idea for imperials; they put out gas clouds that the drones couldn’t latch onto. I went with the lesson I learned from Return of the Jedi and paired Onyx with Obsidian. Tempest and Alpha were going to try and flank the separatists.
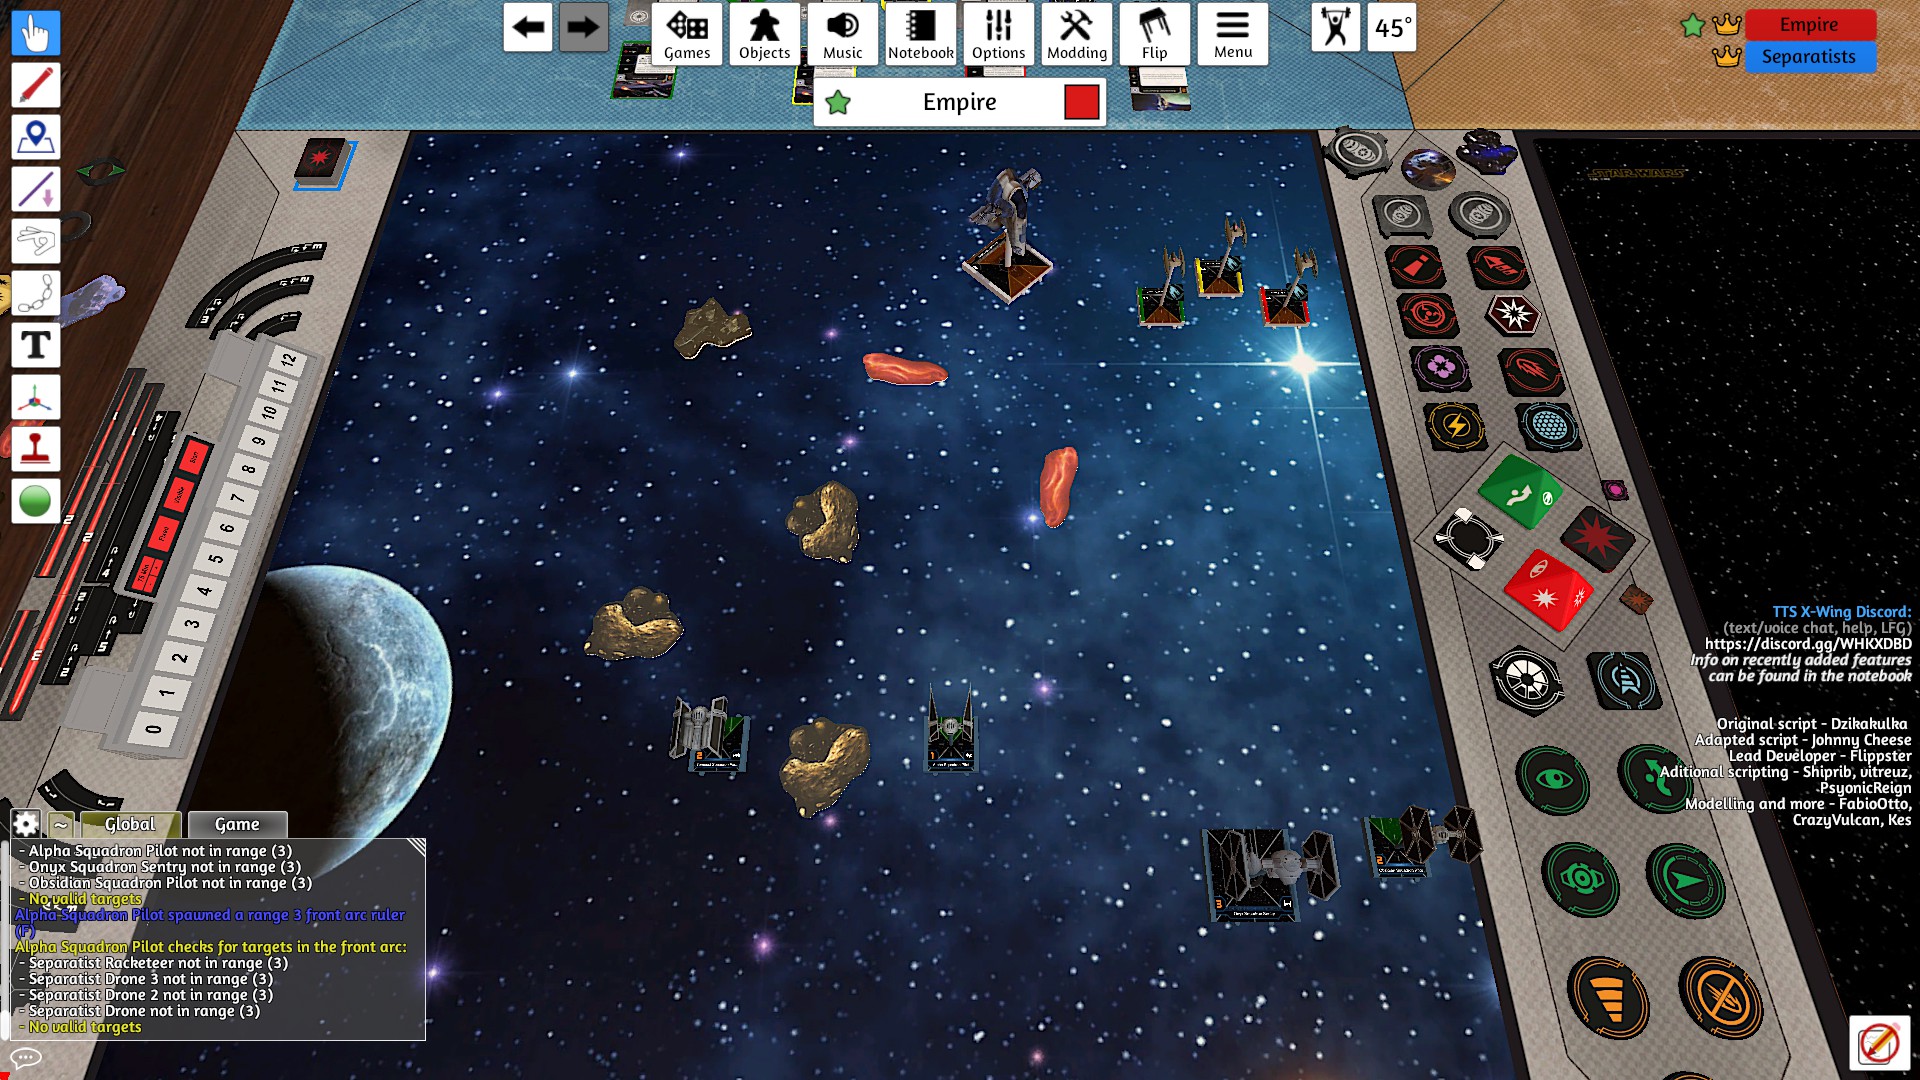
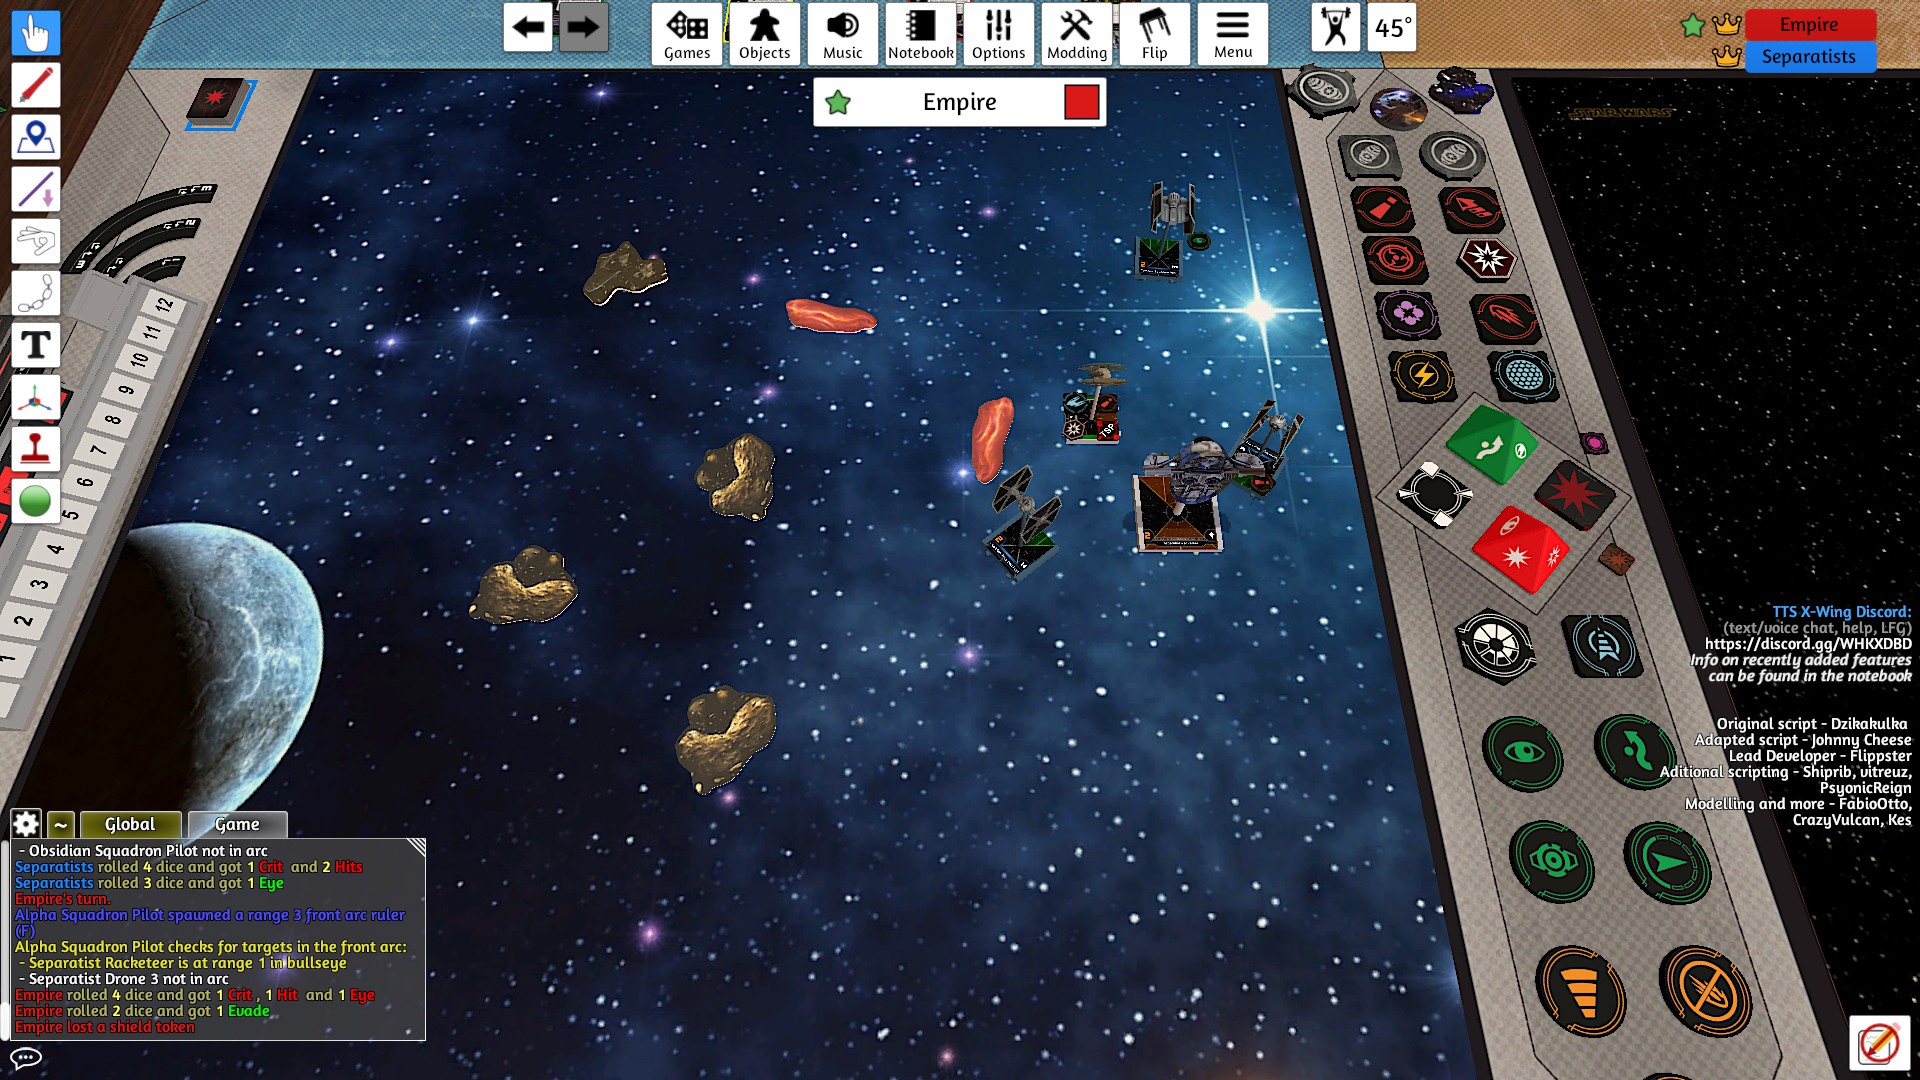
Both sides spent the first two turns carrying out their plans. Imperials screwed up early with a bump. It’d be the first of many. The far-from-planet corridor would become a corridor of pain. The first shots were made here but the green dice ran hot. Onyx with his agility-1 took a single hit but that was it.

The far corridor would be a clusterfuck for a few turns. The drones broke formation anticipating the cluster. Red vulture screwed up with a K-turn meant to anticipate enemies flying by only for none to actually do so. That’s because Onyx and Obsidian bumped trying to slowly advance. Green Vulture, Tempest, and Alpha were the only ones to avoid the cluster.
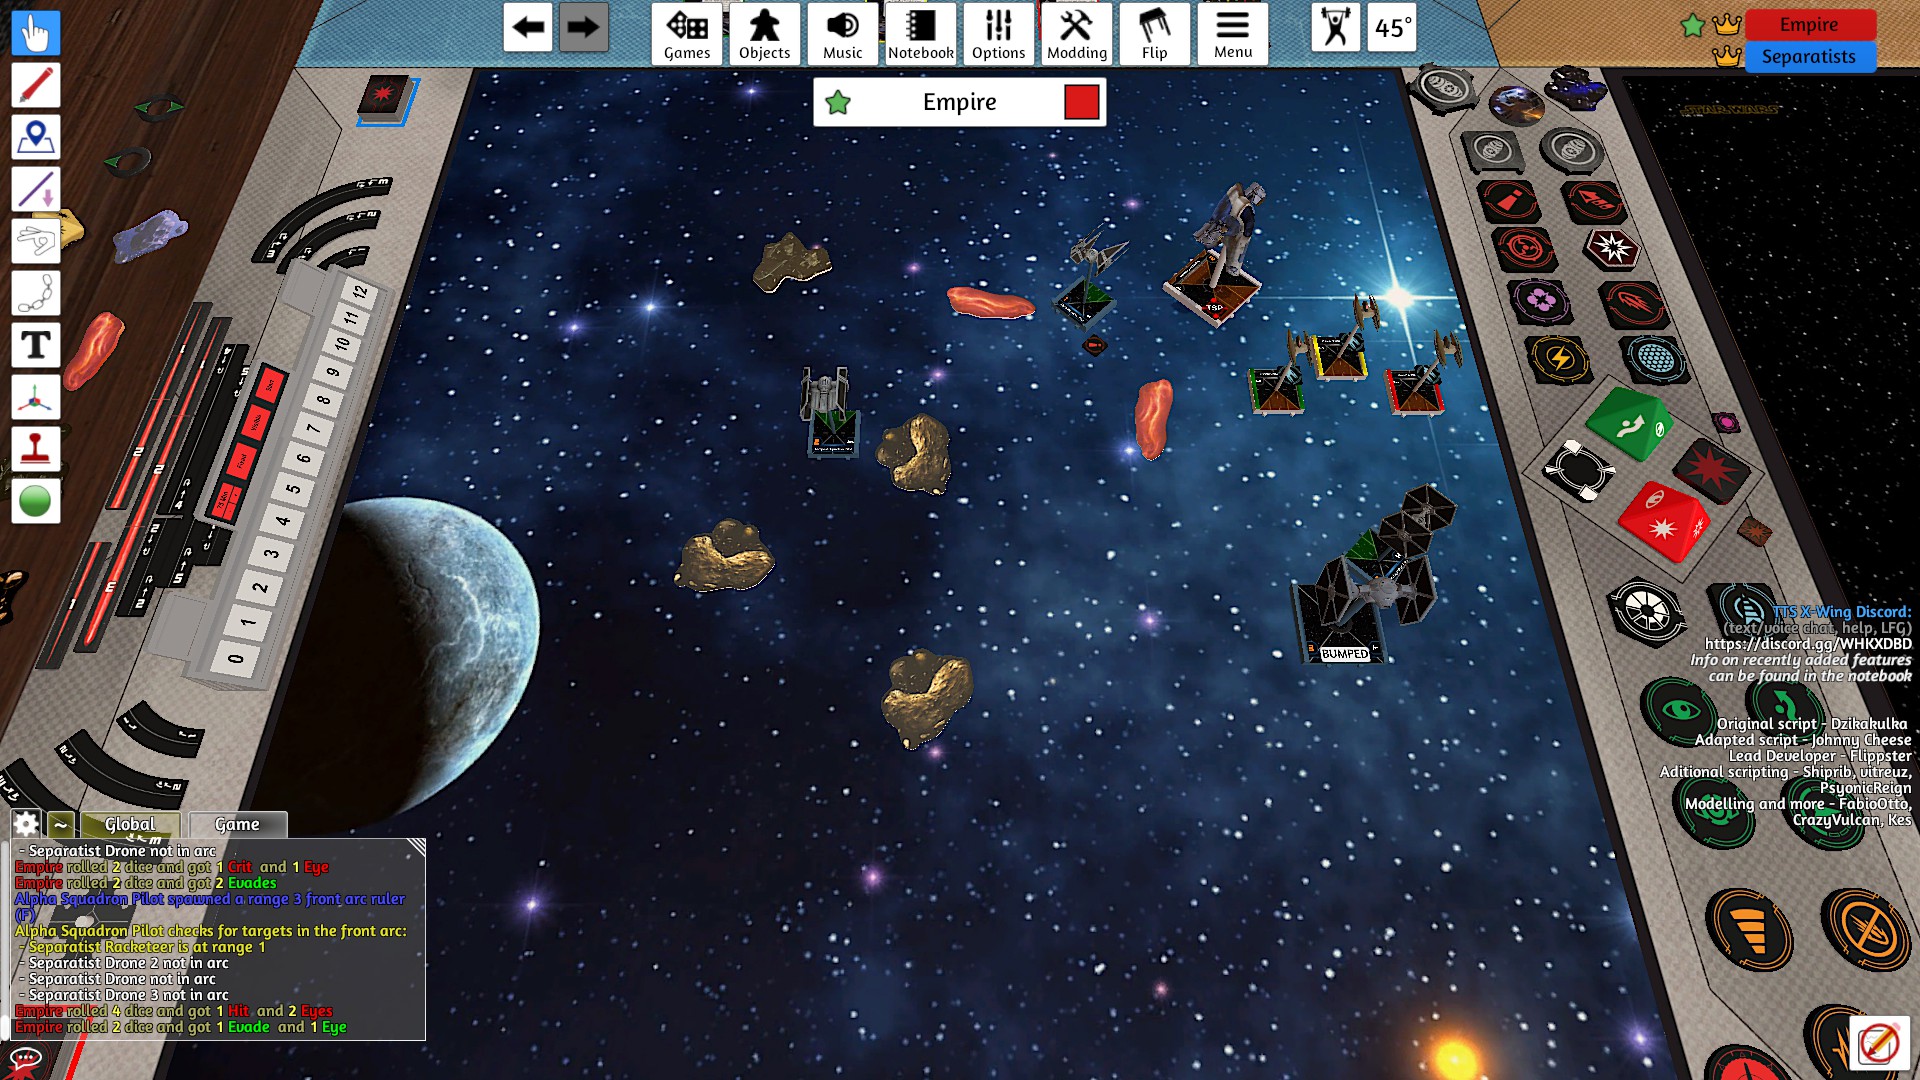
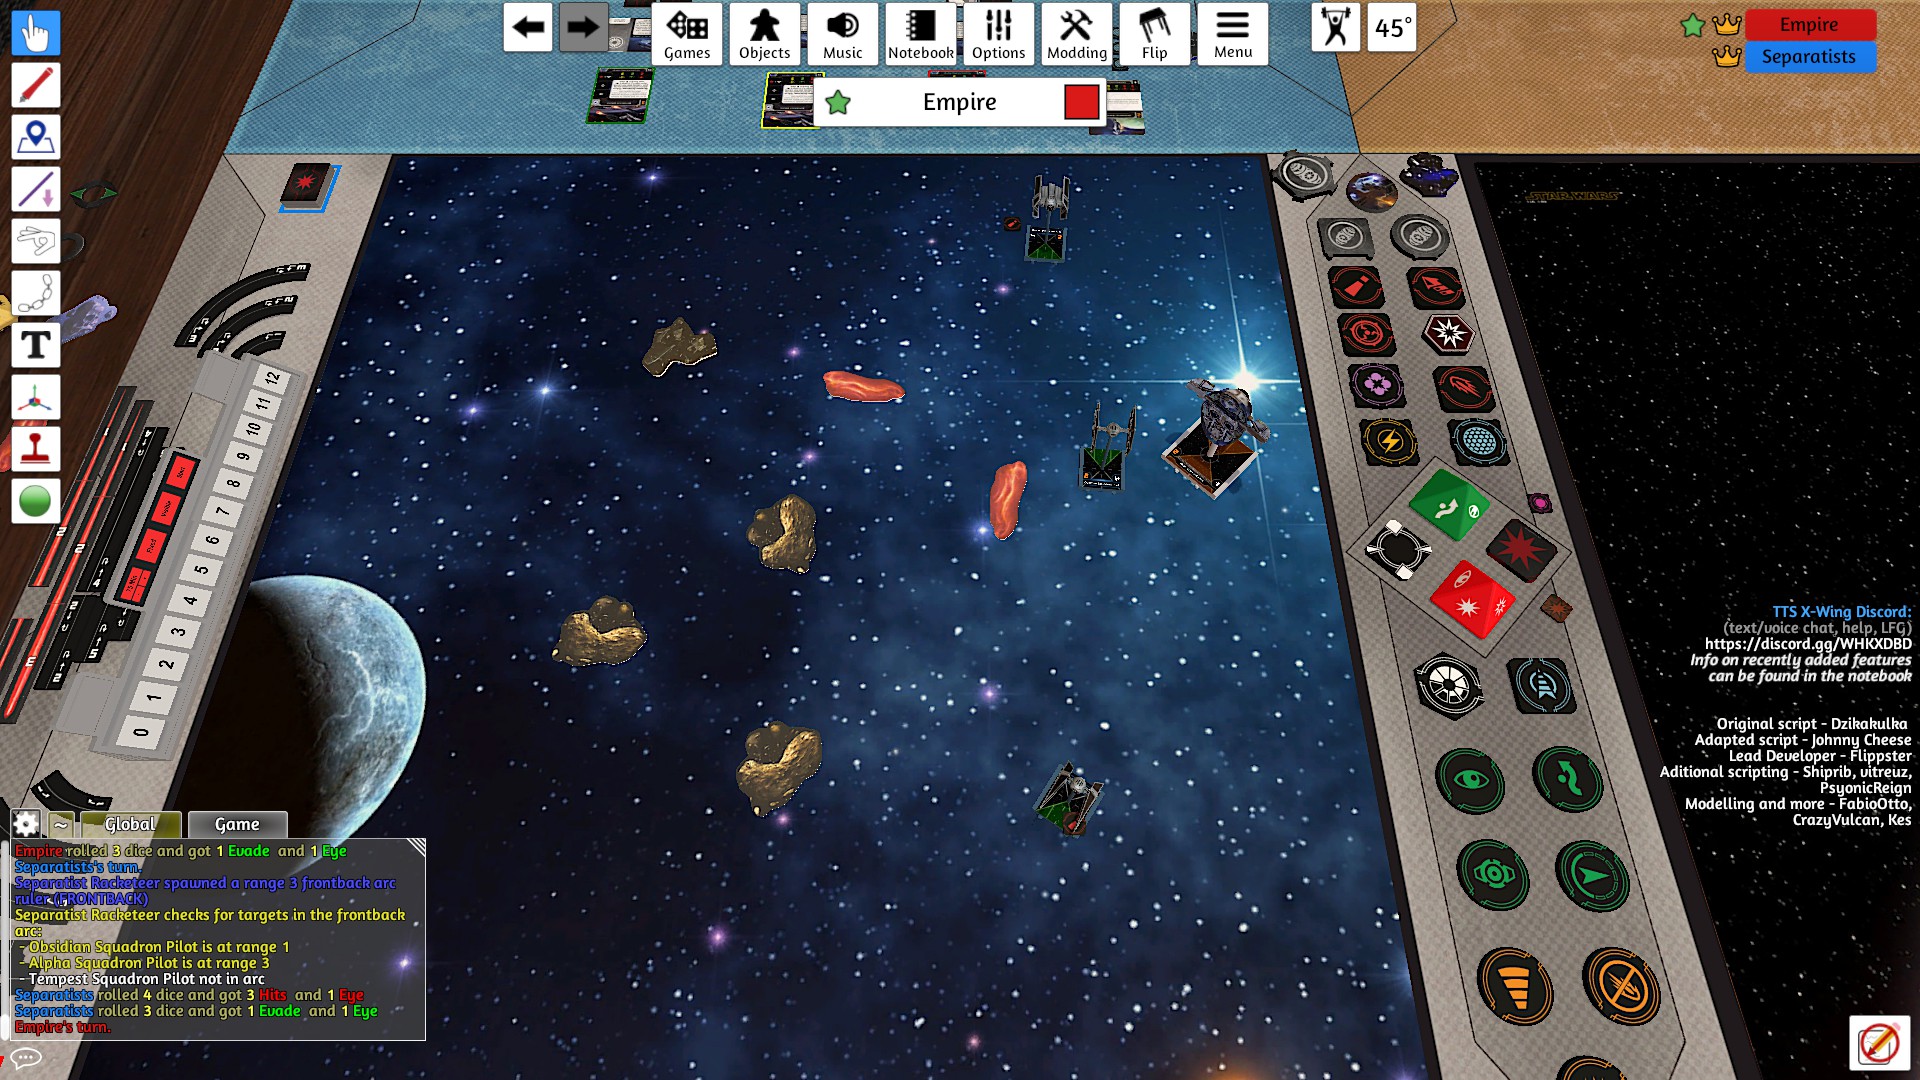
Racketeer got two normal hits and a Direct Hit on Onyx. Onyx and Tempest both hit Yellow Vulture. With two ships at half health we had our first score: 17-10, Seps.

The cluster continues. Racketeer does a K-turn to get out of it, Yellow Vulture flies in, and Tempest and Alpha bump each other trying to sneak up on the situation. Red Vulture was trying to clear stress from its last K-turn but was unable to get away from the cluster. Onyx got Red with a hit and crit.
Green Vulture coming around the gas cloud got a hit on Tempest. Obsidian hit Green twice; now all the drones have taken at least a hit. Racketeer crit Onyx.
20-17, Empire
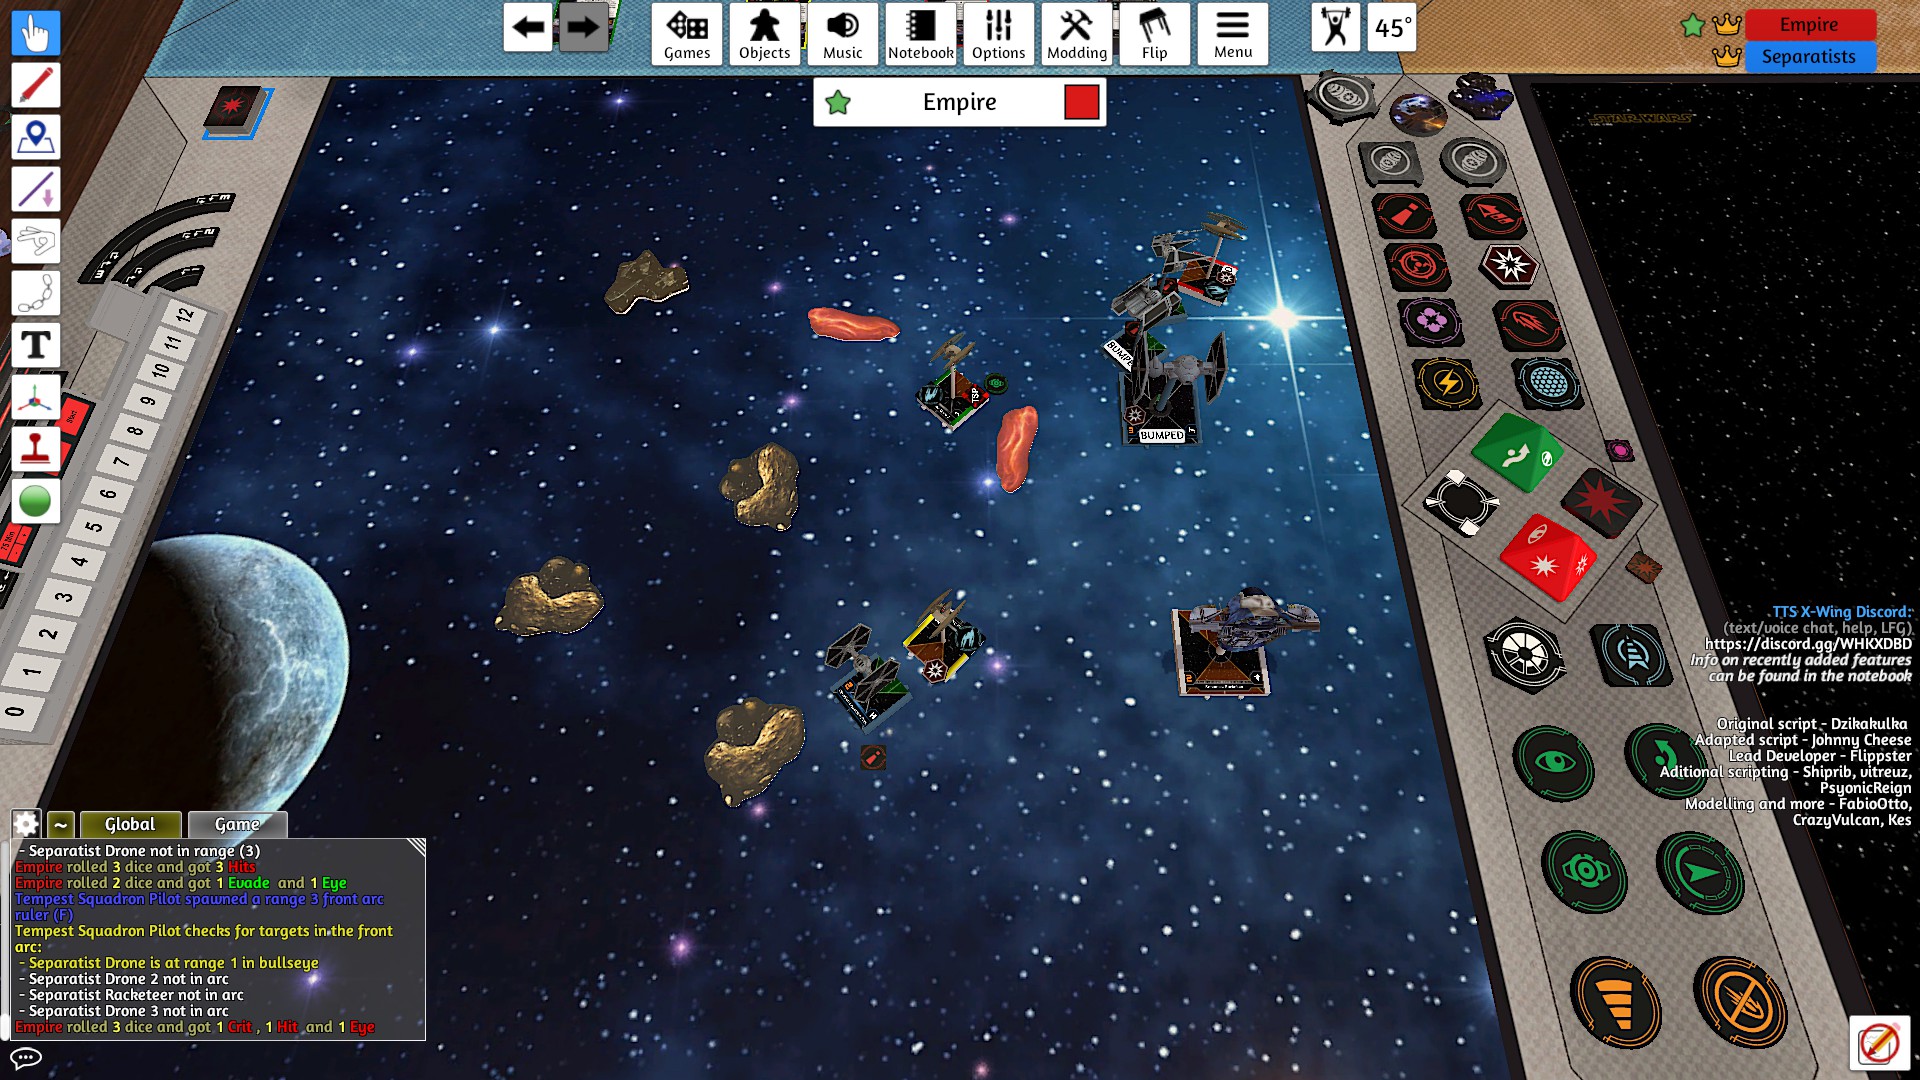
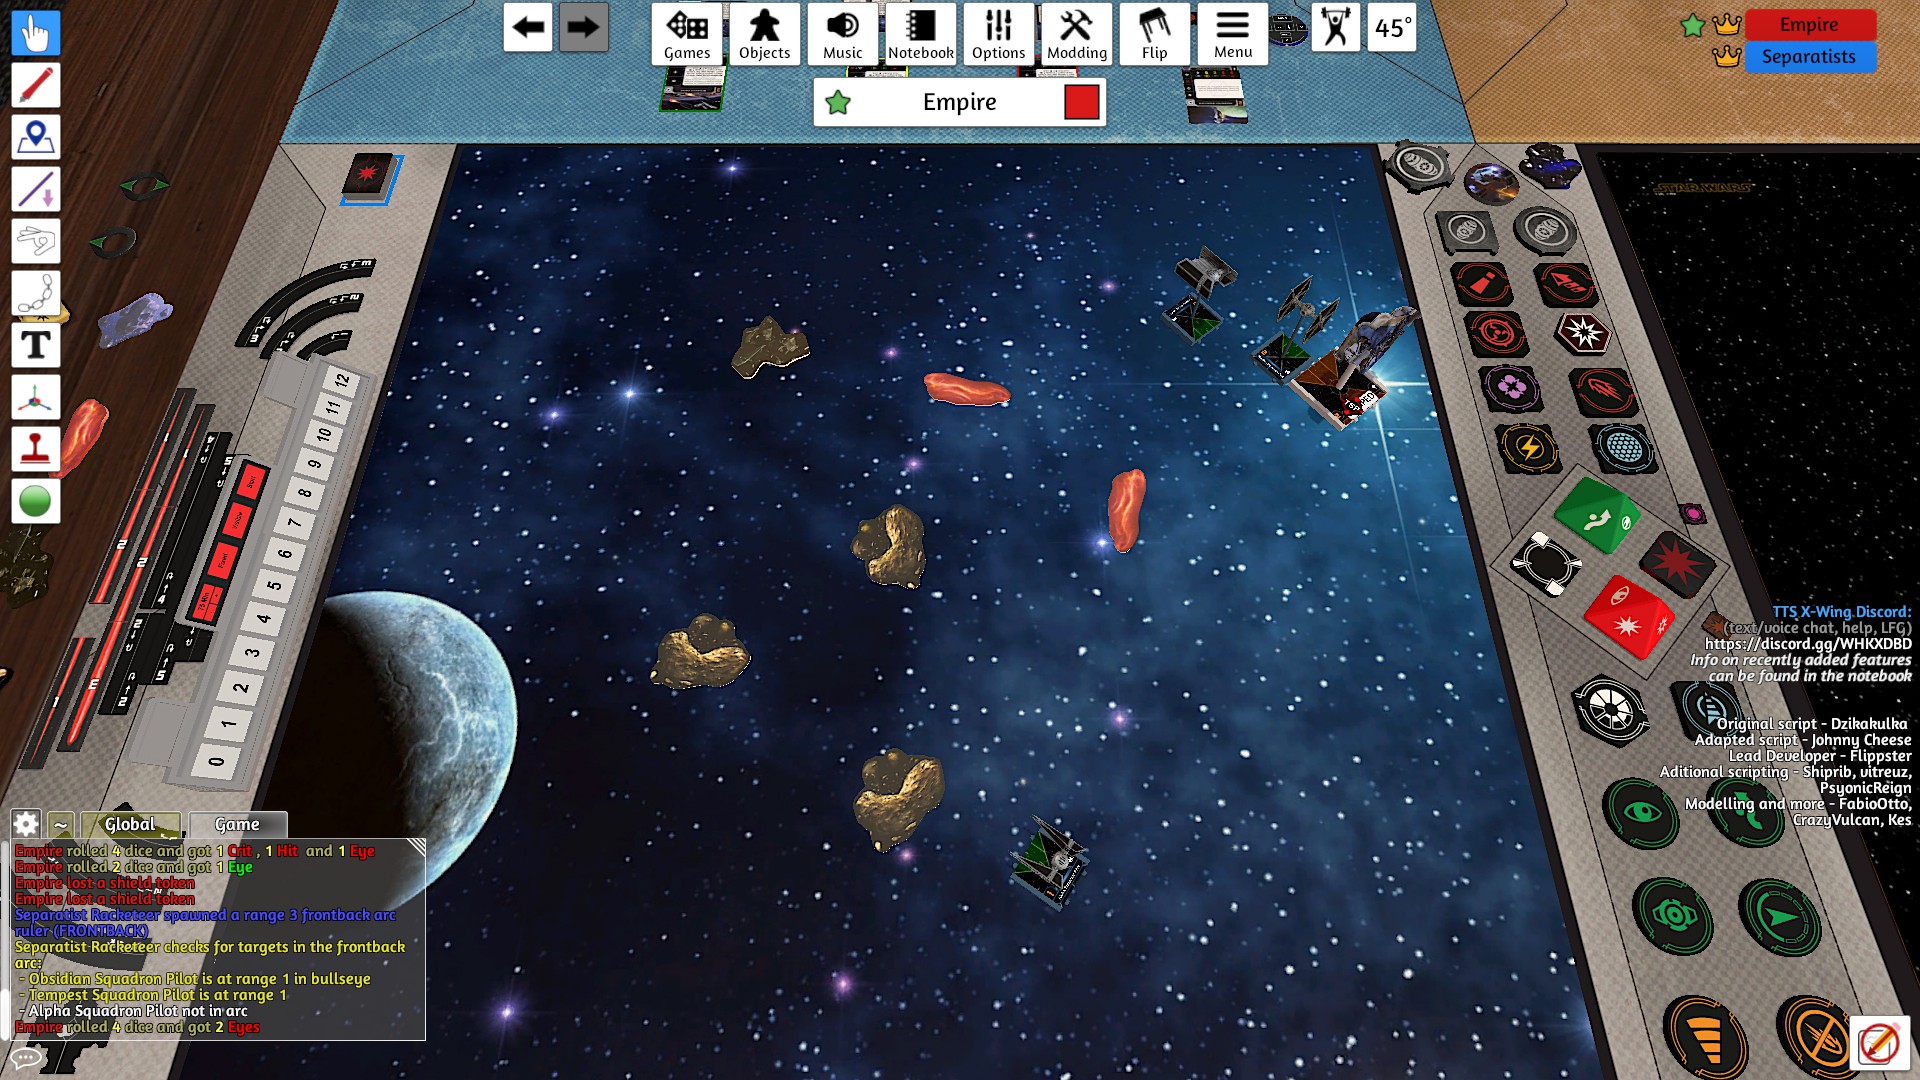
Now Tempest and Alpha are drawn into the cluster. It’s mostly Tempest’s fault as it messed up a tallon turn. Poor Onyx hasn’t had an action in a while; I had trouble getting the big ship out of there. Green Vulture and Racketeer finish off Onyx.
Tempest finished Red Vulture. Obsidian got two hits at range 1 with no mods (25%) to finish Yellow Vulture. With three ships coming off the board there’ll be a lot more room and a lot more scoring. 52-35, Empire.
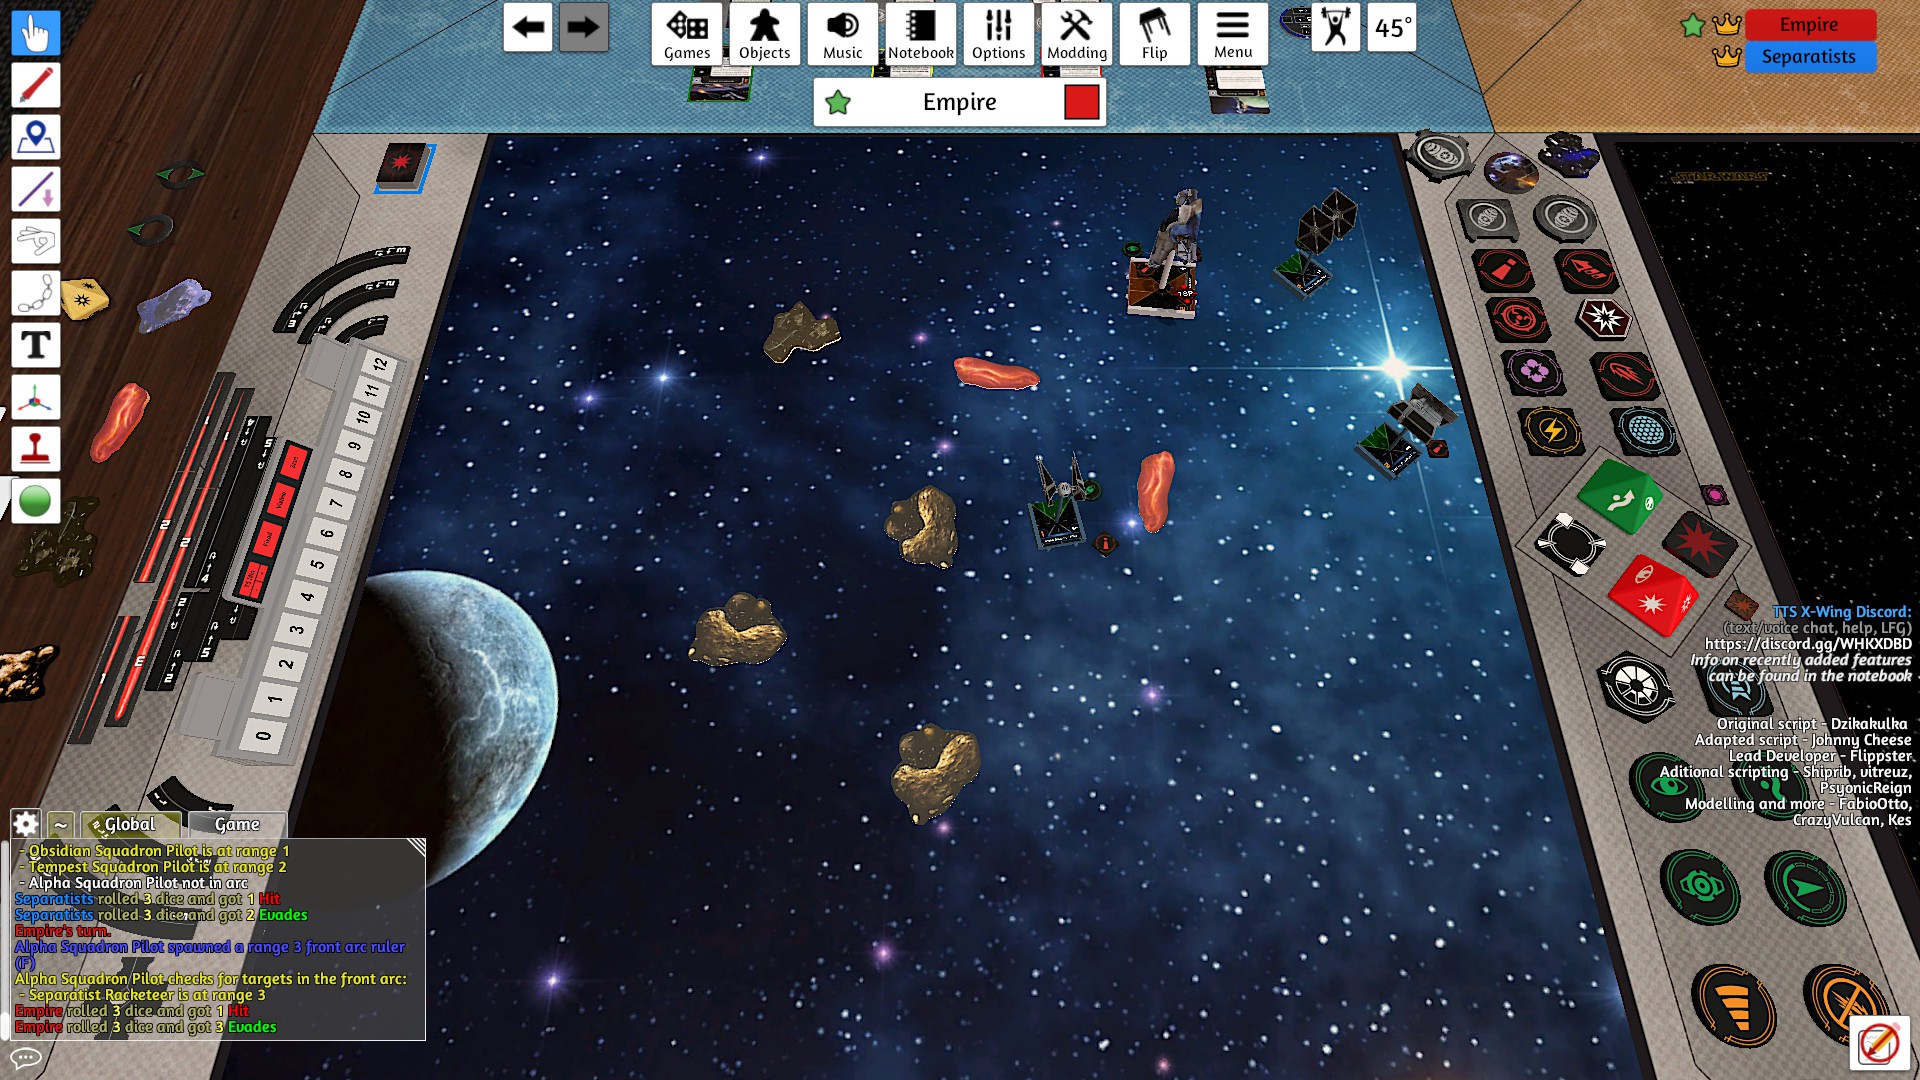
Finally no bumping. Racketeer’s plan is to go up the corridor firing out the front at first and then after passing the imps fire out the back. Green Vulture was gonna do as much damage as it could before getting finished. The imps wanted to finish Green and then focus on Racketeer.
Obsidian was able to get into Racketeer’s blind spot and finish Green. Alpha flew in close to Racketeer and they traded range 1 shots. Alpha got taken down to 1 HP and a Console Fire.
63-51, Empire.
Half the ships left so a lot more room. Alpha sped away to try and recover from the Console Fire. Tempest and Obsidian engaged Racketeer. Racketeer took Obsidian down to one hit on Turn 7 but then Obsidian blocked Racketeer on Turn 8. Tempest plugged away at Racketeer as this went on. Turn 8 ended at 63-62, Empire.


Racketeer fought hard but he needed to take out at least one TIE early to have a shot. The TIEs rolled some good greens to stay alive. Racketeer didn’t have the speed to outrun them and then Tempest hit him with Panicked Pilot. Two straight turns of clearing stress. Tempest then got the final shot to put Racketeer away.
Final: 126-62, Empire
Firespray Impressions
Firespray was a fun ship. Decent maneuverability, 2-agility, 3-attack, front and back arcs. Only weakness is the point cost. Like any high point ship you’ll have to get your money’s worth from it. But if Racketeer could’ve rolled better, taken out the wounded TIEs quickly, then it would’ve been his advantage one-on-one against Tempest.
Conclusion
Not my best flown game. Way too many unplanned bumps. A corridor filled with ships including some bigger ones was tough for me to manage. Imps got a bit lucky at the end which helped them pull away. I look forward to seeing what Jango can do in Slave I when I eventually get to it. I still have to play a full list with the bombers though.

Pingback: X-Wing Practice: Firespray, Full, v2.5 | Super Romo Brothers